What Is Air Layering?
Air layering: Definition
Air layer bonsai2
The process involves creating a controlled wound, surrounding it with moist moss and enclosing it until roots develop. Once the new roots are sufficiently established, the branch or trunk section can be separated and potted as an independent bonsai.
This technique is especially helpful when:
- You wish to preserve and repurpose a part of the tree you would otherwise remove.
- You want to improve the tree’s proportions or silhouette.
- You want to propagate new bonsai material from an existing tree.
There are other ways to propagate bonsai trees and the article below is all about it!
Suitable Tree Species
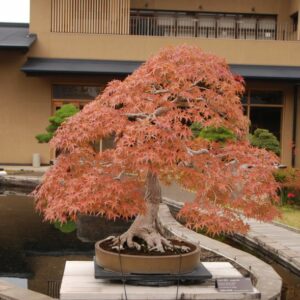
Air layering tends to be most successful on vigorous and healthy trees, particularly young ones. Well-suited species include Japanese maple, trident maple, Zelkova, and Chinese elm.
Most conifers, on the other hand, don’t respond well to air layering. But there are exceptions- some conifers such as Shimpaku juniper and Hinoki cypress. Japanese white pine can be layered, though results may take longer and are less predictable.
Avoid attempting this technique on trees that are weak, diseased, or composed of very old, rough wood.
Ideal Timing and Conditions
There are several conditions that should be met for successful air layering.
- You get the timing well. The temperature should be between 60° to 77°F (15° to 25°C);
- The tree should be in good health and well-fertilized.
- The air layering site stays moist but not soaked.
- Adequate airflow at the site.
- The site gets no direct sunlight.
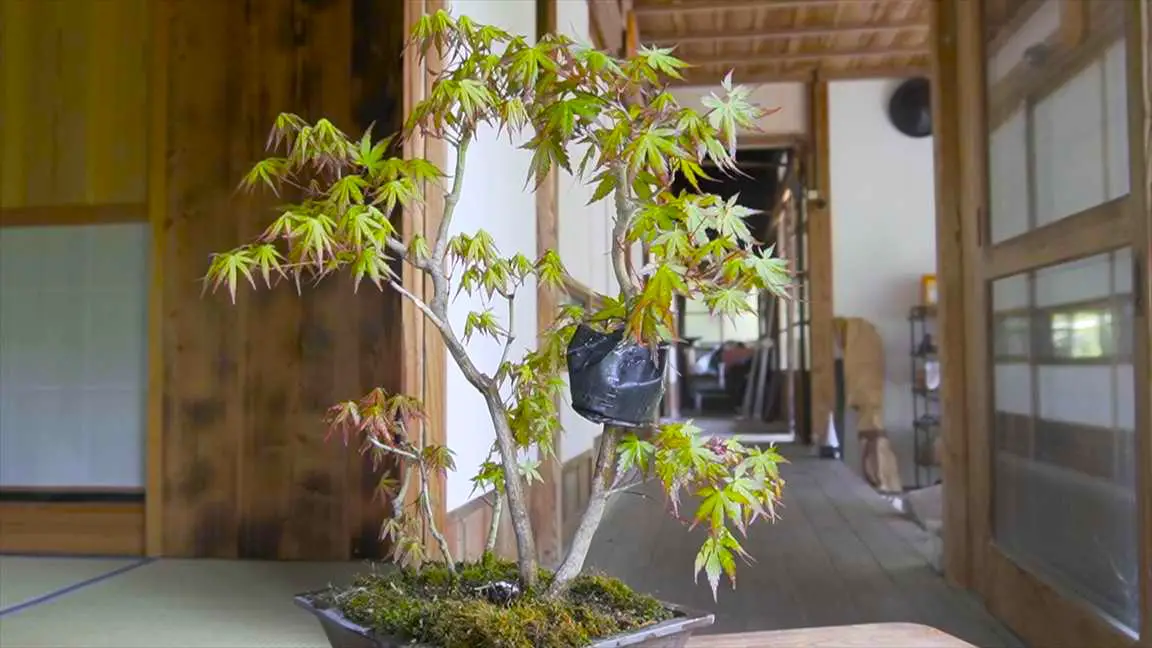
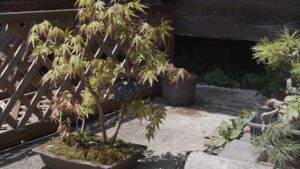
A Practical Example: Refining a Japanese Maple
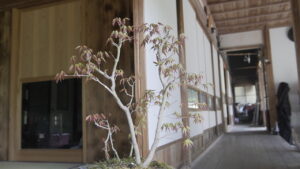
In one of my own projects, I am working with a Japanese maple forest bonsai. The two main trunks are currently the same height, which diminishes the overall design. Rather than cutting off one trunk, I opted to reduce its height through air layering.
The goal is twofold:
- Refine the primary tree into a more balanced double trunk bonsai.
- Create a new bonsai from the removed upper section.
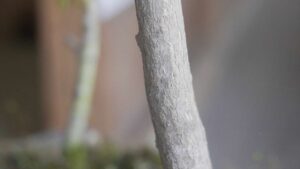
Although the exact location of the layer was largely determined by design needs, I ensured the bark was healthy and smooth — an important factor for successful rooting.
Preparing for Air Layer
Selecting the Right Spot for Air Layer
Air layer bonsai3
The success of air layering depends greatly on choosing the correct section of the tree. Ideally, the chosen area should meet the following criteria:
- Vigorous and healthy growth
- Appealing shape or movement for future bonsai potential
- Diameter of approximately 1 to 2 inches (2–6 cm)
- Smooth bark, free of scars or swelling
- A clean round cross-section, for better nebari (surface root)
- A height of 11 to 18 inches (30–45 cm) for the future tree
Additionally, make sure there is at least one healthy branch below the air layering point if you wish to maintain the vitality of the parent tree.
Materials You Need
Sphagnum moss
Before you begin, gather the following items:
- Sharp knife or chisel
- Sphagnum moss (or alternatives like coconut fiber or vermiculite)
- Akadama or bonsai soil
- Rooting hormone (optional)
- Black plastic bag or a plastic pot
- Cotton string or a stapler
How to Air Layer Bonsai: Step-by-Step
1. Choose the Spot
Pick a branch/trunk that has good structure and would look nice on its own.
2. Prepare the Site
Remove any small branches and leaves near the section to be layered.
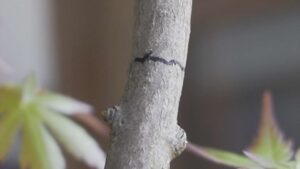
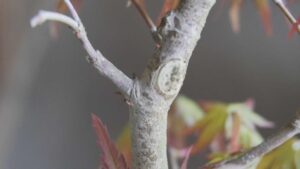
3. Make the Cut
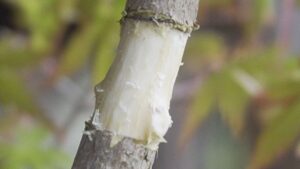
Using a sharp knife, carefully remove a ring of bark approximately 1.5 times the trunk diameter. Be sure to scrape off the cambium layer to prevent the wound from healing over.
This is optional but applying rooting hormone to the upper edge of the cut will encourage root development.
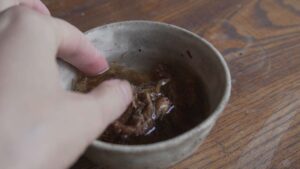
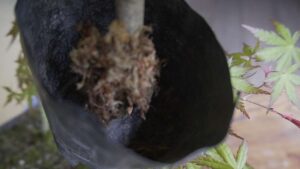
4. Apply Moss
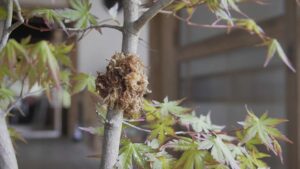
Soak sphagnum moss in clean water for some time and squeeze out excess moisture. Wrap the moss around the wound. Secure with cotton string if it is coming off.
Don’t put too much moss as it may cause root rot after rooting.
You can skip this step if you’re sure you can keep the wounded spot moist all the time.
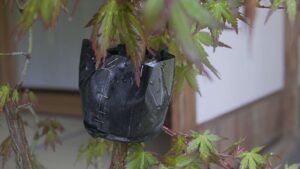
5. Cover the Layering Site
Wrap the moss in black plastic bag to protect it from light and retain moisture. Alternatively, a small plastic pot can be used.
Secure the bottom tightly with string or staples and leave a small gap for drainage.
6. Fill with Soil
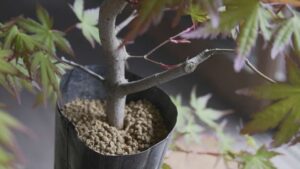
Add soil (such as 100% Akadama or a 50:50 mix of Akadama and sphagnum moss) into the covering. Loosely seal the top with a stapler to allow for air circulation.
7. Aftercare
Keep the area moist at all times but not soggy. Do not let it completely dry. Place the tree in a warm spot with the light shining the spot to facilitate rooting.
Roots usually begin forming in 1-2 months, though some species can take much longer.
When to Separate the New Tree
How to know when to separate
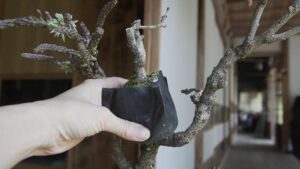
The air layer is ready to separate when:
- Roots are visible through the plastic or drainage holes
- The moss area feels firm when gently pressed
Ideal season to separate
Ideal times are:
- Early autumn (late September to early October)
- Early spring (just before bud break)
Avoid separating during midsummer heat or late autumn.
How to separate from the parent tree
When separating:
- Use clean shears to cut below the rooted area.
- Carefully remove most of the moss without damaging the roots.
- Pot the new tree as you would during a normal repotting.
- Place it in a shaded, sheltered area and allow it to recover.
- Avoid fertilizing normally (just a bit of fertilizer is OK) or hard pruning for at least one growing season.
Here’s my Youtube video on this topic. Please check if you are interested!