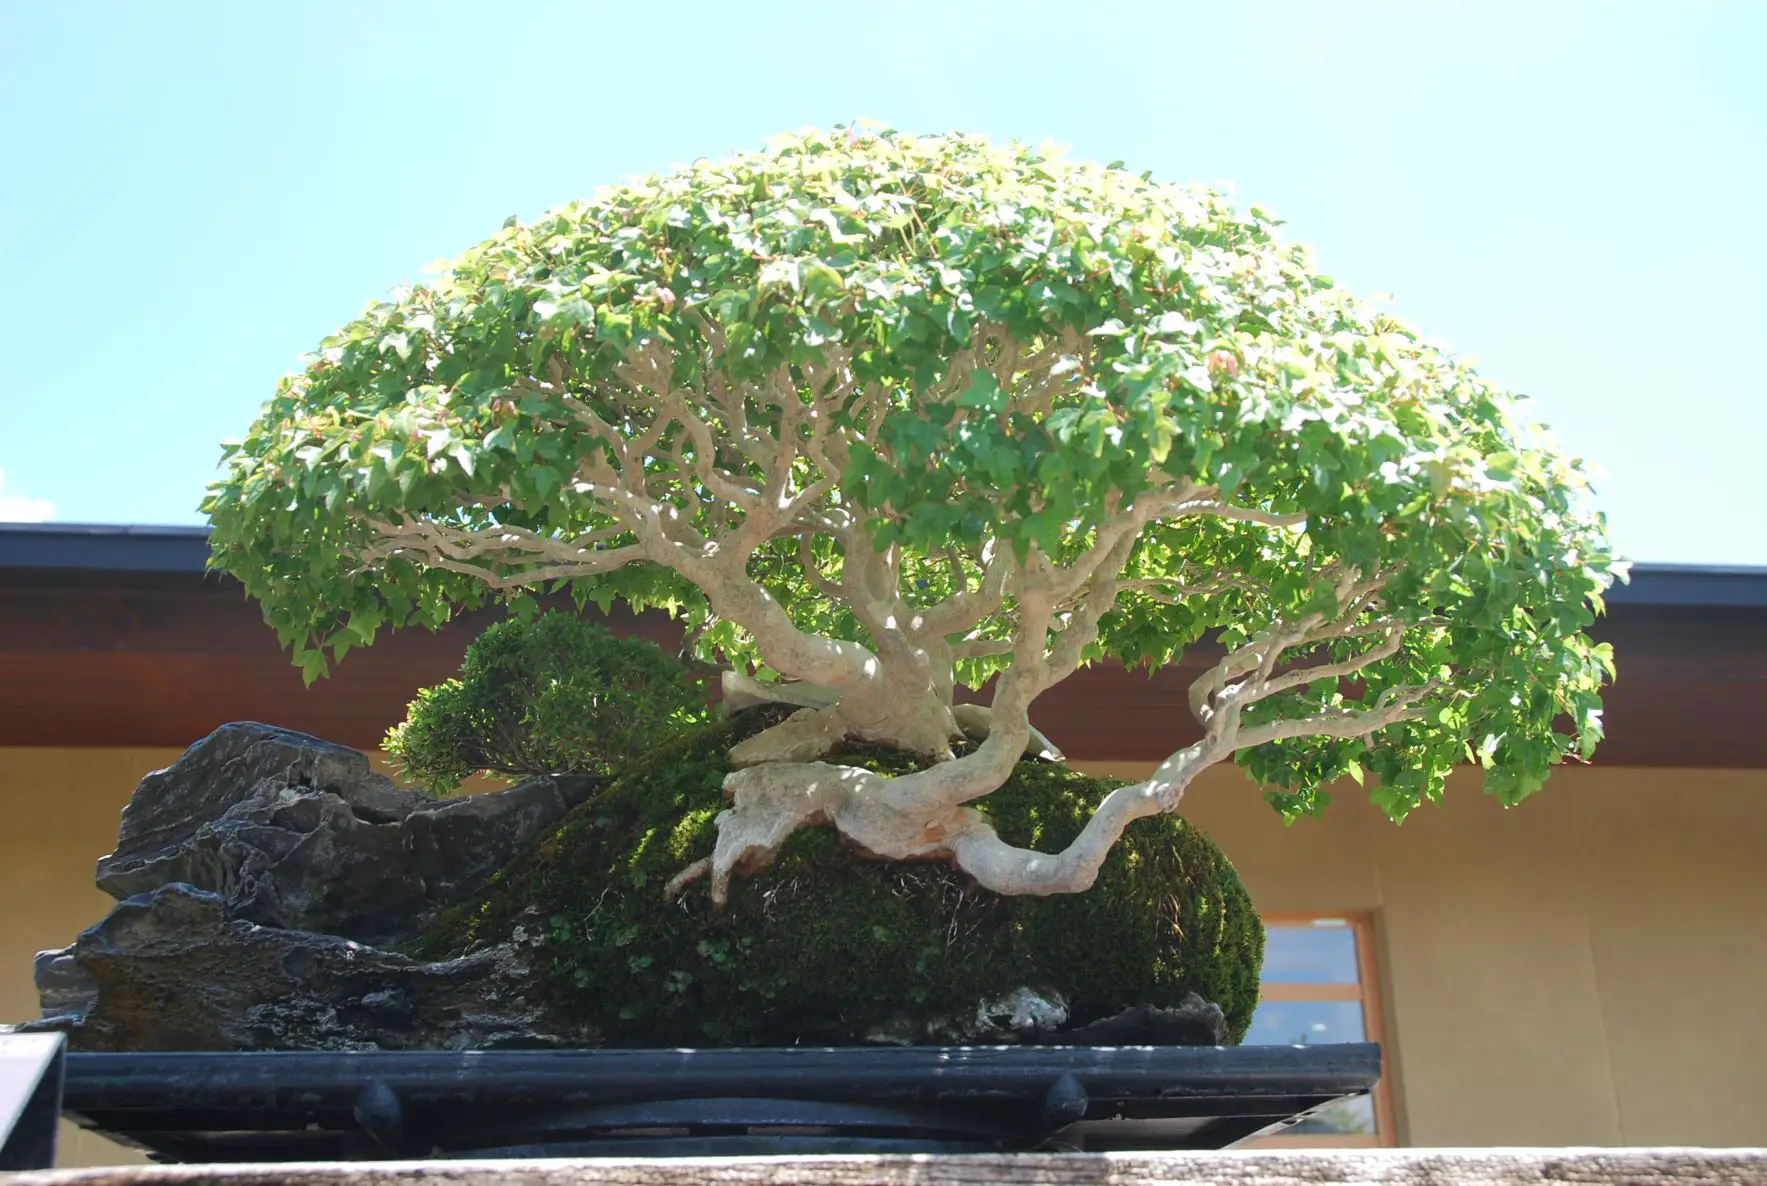
If healthy, the mini bonsai pot is filled with the roots in one to a few years. The roots need room and new soil to absorb nutrients to produce new roots. So, repotting your mini bonsai tree is crucial for its growth and well-being.
Here is what you need for repotting and how to repot your mini bonsai tree.
- What You Need For Repotting A Mini Bonsai Tree
- Repotting A Mini Bonsai Tree- Complete Step
- Step 1: Remove the tree from the old pot
- Step 2: Remove old soil from the tree’s roots
- Step 3: Prune the roots
- Step 4: Test the position of the tree in the new pot
- Step 5: Place a pot bottom net in the new pot
- Step 6: Put some of the bonsai soil mix
- Step 7: Reposition the tree and spread the roots evenly
- Step 8: Put the rest of the bonsai soil mix
- Step 9: Secure the tree using wires/strings
- Step 10: Water the tree
- Step 11: Avoid strong wind and direct sunlight
What You Need For Repotting A Mini Bonsai Tree

what you need to repot
To repot a mini bonsai tree you need;
- new bonsai soil mix
- a pot bottom net
- a new pot
- wooden chopsticks
- sharp scissors
- string/wire
Repotting A Mini Bonsai Tree- Complete Step
Step 1: Remove the tree from the old pot

Remove the tree from the old pot.
- tap the rim of the pot several times and see if you can remove the tree from the pot;
- secure the tree, turn the pot upside down and gently tap the rim of the pot against a wall/ wooden shelf; or,
- use a small wooden spatula to gently make vertical cuts alongside the pot. Grab the bottom of the trunk and tease it very gently until you can remove the tree from the pot.
Step 2: Remove old soil from the tree’s roots

remove the soil with chopstick
Step 3: Prune the roots

Prone the roots.
- roots that are especially thicker than other roots so that all the roots will be approximately the same thickness;
- roots that disturb other roots when they are spread in all directions (to achieve good nebari);
- overgrown roots that are longer than the depth of the new pot; and,
- dead roots.
Step 4: Test the position of the tree in the new pot

Test the position.
- Decide the front of the tree and that of the pot.
- Put the tree in the new pot to test if its position is balanced.
- The tree can be positioned in either the center or towards the edge of the pot.
Step 5: Place a pot bottom net in the new pot

Place a pot bottom net.
Step 6: Put some of the bonsai soil mix

Put some of the soil mix.
Step 7: Reposition the tree and spread the roots evenly

Reposition the tree and spread roots evenly.
- Carefully place the tree in the new pot.
- Keep in mind that the front of the tree and the pot is in the position decided in the previous step.
- Spread the roots evenly in every direction so that good surface roots (nebari) are developed.
Step 8: Put the rest of the bonsai soil mix

Put the rest of the soil.
- Hold the tree in place and put the rest of the bonsai soil mix in the pot.
- Use a wooden chopstick to gently push the soil into the air pockets.
- Add more soil and push the soil in between the roots.
- Repeat the process until all the gaps are filled and the soil is at the level just below the rim of the pot.
Step 9: Secure the tree using wires/strings

Secure the tree using wires/strings.
Step 10: Water the tree

Water the tree.
Step 11: Avoid strong wind and direct sunlight

Avoid strong wind and direct sunlight.
Do not let the new soil to dry out and avoid strong wind as well as direct sunlight for a week after repotting. Maintenance and care during this period are the keys to a successful repotting.