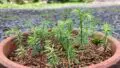
Before styling Japanese maple seedlings
Repotting
New Japanese maple seedlings need to be repotted twice in the first year: 1st, a month after germination, and 2nd, early fall (or early March next year). These seedlings do not need to be repotted for the next 2-3 years after the second repotting. These years will be used to make a basic bonsai tree shape.
For more information on the repotting, please read the following post.
Choosing primary, secondary and tertiary branches

bonsai’s primary, secondary and tertiary branch
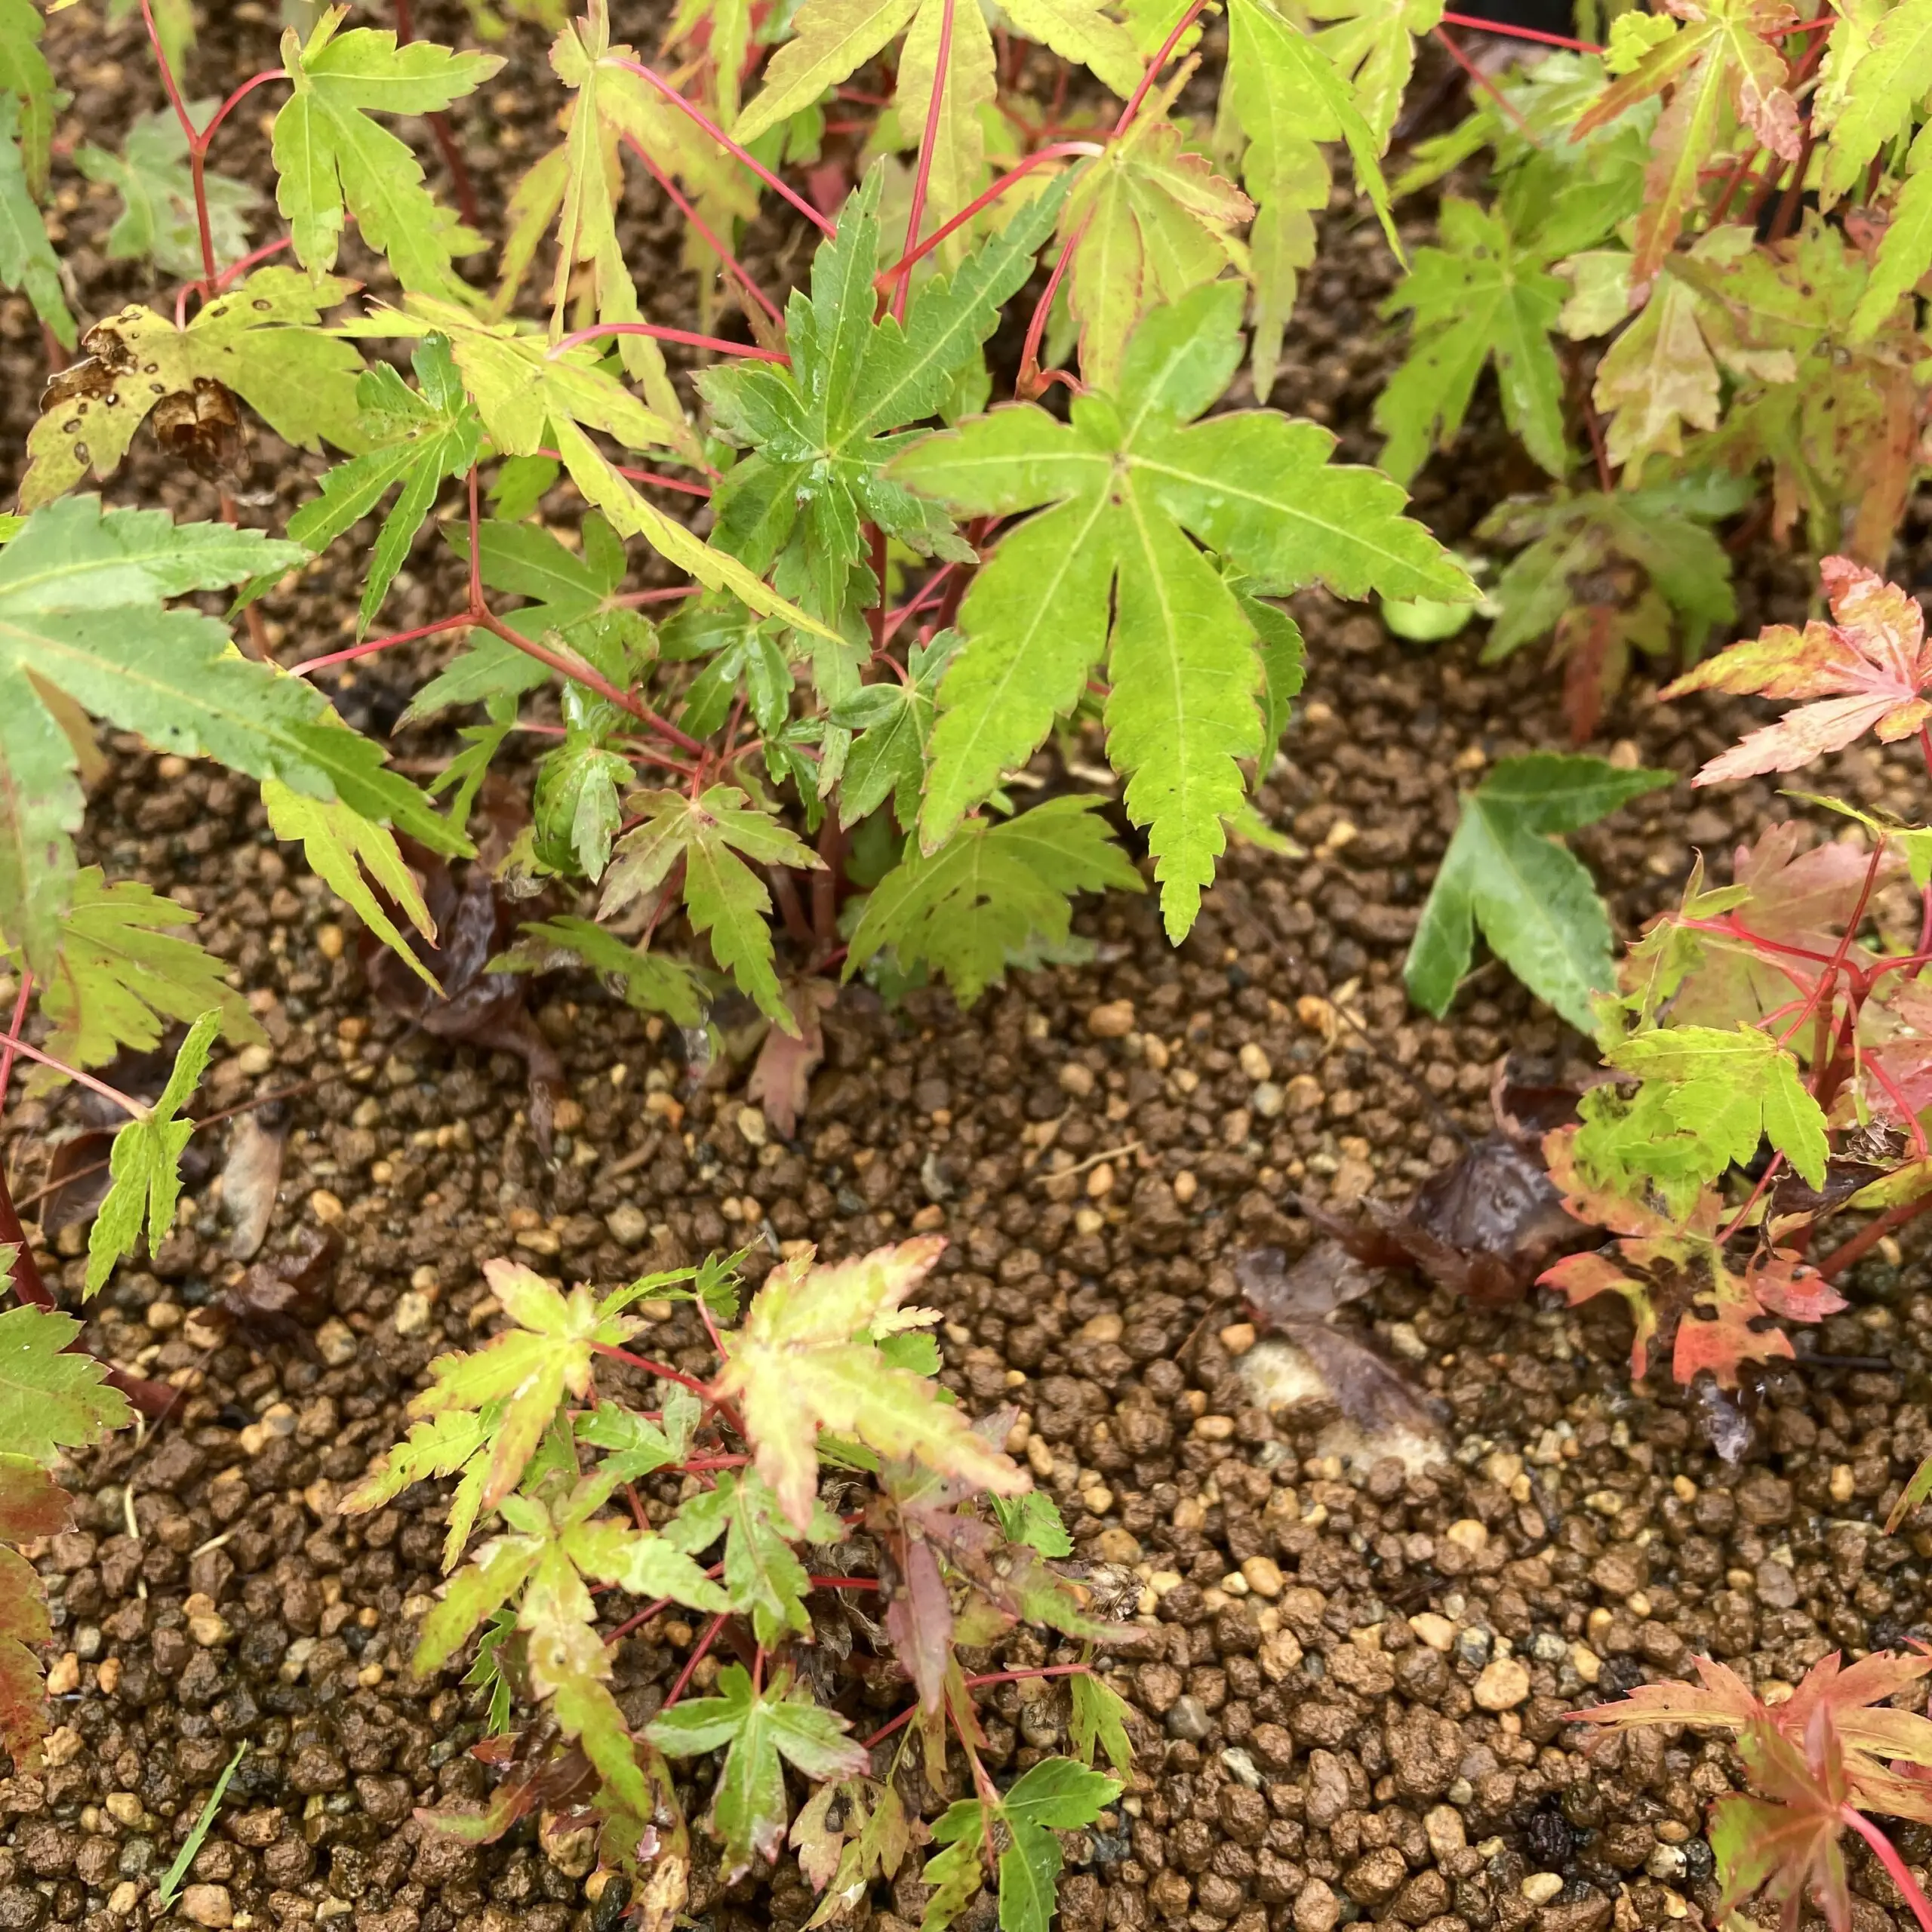
Come second year of spring when the weather is warm and frost-free, water and fertilize the seedlings well and give them plenty of sunlight. When 4 to 6 new leaves open, observe the seedlings well and choose a branch growing at the lower part of the trunk as the primary branch. Then choose the secondary and tertiary branches.

Height of primary branch
Choosing the primary branch is a crucial part of determining the bonsai tree shape. The primary branch should be at 1/3 to 1/4 of the height of the tree from the base of the trunk when the bonsai shaping is complete. There should be enough space under the primary branch, but not too much because it is very difficult to grow another branch in the lower part of the trunk.
Also, these branches should come out from the trunk alternately.
Once the primary, secondary and tertiary branches have been determined, the general shaping of the tree is done. As such it requires great care.
Pruning
Leaf arrangement of Japanese maples is opposite, i.e. two leaves arise from the same node on opposite sides of the stem. This means that 2+ branches come out at the same height on opposite sides of the trunk.
After choosing the primary, secondary and tertiary branches, leave 3-4 branches that are growing well and prune unnecessary branches so that the branches grow alternately from the trunk (one branch/leaf per node at alternate sides).
How to style Japanese maple seedlings: step by step
The styling of Japanese maple seedlings includes;
- pinching out,
- defoliating and
- wiring.
Pinching out and defoliating will increase the number of branches as well as leaves to enjoy beautiful leaves. Even after all the leaves are fallen in winter, you can enjoy finely ramified branches if well shaled.
Pinching out

Pinching
Pinching (tipping) is a pruning method used on young seedlings to encourage ramification.
To strengthen the primary branch which is the most important branch in shaping Japanese maple seedlings, pinch out the tip of the buds from the secondary and tertiary branches, leaving 2 to 3 nodes. Whether to leave 2 nodes or 3 nodes depends on the growth of the branches and the overall ramification.
Pinching terminal buds
When the height of the seedlings becomes too high, terminal buds must be pinched at a suitable location.
Terminal buds are the buds that grow at the apex of the stem. They are usually left to grow the shoot longer, but these terminal buds produce hormones that inhibit the growth of other buds on the shoot. Terminal buds sometimes are too vigorous that most of the growing energy may be concentrated in stretching upward.
Second sprouting

Second sprouting
The primary branch starts to grow vigorously after you pinch out the buds from the second and third branches, and the seedlings’ growing energy is directed to the primary branch. When the primary branch becomes strong enough and grew to the right length, pick the tip of the primary branch to promote new buds to come out (second sprouting). This should be done from May to June.
Defoliating

Defoliating
When new buds (second sprouting) emerge from the new canopy, defoliate all of the existing leaves, leaving only the petioles. If the seedlings do not seem to be strong enough or you want to thicken branches/trunk, cut out half of the lamina (leaf part), leaving the other half of the lamina and the petioles. This defoliation further encourages new buds to sprout (another second sprouting).
Pinch some of the new buds so that the leaves grow alternately from the branch (one leaf per node at alternate sides).
Third sprouting

Third sprouting
Wait until the leaves of the new buds from second sprouting open completely, and then pinch off the tip of the bud, leaving 1-2 nodes. This will lead to another sprouting (third sprouting). As you did in the second sprouting, pinch some of the new buds so that the leaves grow alternately from the branch (one leaf per node at alternate sides).
By repeatedly pinching buds and defoliating, the branches become finer with much more ramification.
Caution
Be careful, though, that pinching and defoliating may weaken the seedlings to produce new shoots. Choose the seedlings that are healthy and fertilize them very well before doing this procedure. It is safer to stop pinching and defoliating by the end of August at the latest.
Also, thin out branches and buds that are not necessary for shaping the seedlings as soon as they come out to save energy for the new ones. You should repeat pinching and defoliating the seedling constantly. When the branch reaches an appropriate size, remove the core of the tip.
From the third year onwards, leave one or two nodes and pinch the tip of the buds. Two nodes are left for well-developed sprouts.
At the end of the 4th or 5th year, the seedlings will be somewhat like a bonsai tree. You will need at least a few more years until the shaping of the trees is complete.
Wiring
Formal upright (Chokkan) and slanting (Shakan) are the styles best suited for Japanese maple bonsai trees besides forest style.
Formal upright style is a tree shape that is considered to grow smoothly upward. As such, there is not much need for wiring. Wiring is to be done when the branches are growing in an upward direction (which is natural) because branches of young trees grow upward and bonsai does not want that. Branches of an old tree grow downward or horizontally to the ground.
Remember that if the wire is left too long, it will eat the bark and make a scar that will never heal. Remove the wire before it eats the skin. If the shape is not set, try wiring again next year.
To know more about wiring baby bonsai, please read the following post.
Maple seedlings can usually be wired from the second year after germination. The second-year seedlings are still thin and the branches are flexible, so they can be bent quite freely with a small gauge wire. It takes about two months for the shape to be set. Take the wiring off after 2 months as the wire will eat into the bark and leave a permanent scar if you leave it longer than that.
It is better to remove the wire sooner than later. If the wire seems to eat the bark, it is better to remove it even if the bending is not set. Wire the branch again.
The wiring should be done from early spring until June.
How to make new branches to Japanese maple seedlings

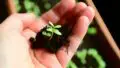
1-year-old Japanese maple seedling
The basic shape of the tree is formed by pinching, defoliating and wiring. From the third year onwards, fertilize the seedlings well to make the branches and trunk thicker. At the same time, try to make the branches where there are not enough by creating new branches, and add well-ramified fine branches at the top of the tree.
How to make new branches
When buds are coming out from around the area where you want a new branch, do not pick them up and let them grow as they are. It does not have to be the exact area because new buds might not come out where you want the new branches after all.
You have to be patient to wait a year or two for new shoots to appear. If eventually, new buds did not pop up, lure a nearby suitable branch with a wire and adjust the shape.
How to ramify (defoliate) Japanese maple seedlings
Purpose of defoliation
The purposes of defoliation are;
- increase ramification,
- decrease the leaf size, and
- make foliage denser.
Defoliation has the added benefit of making the autumn leaves of Japanese maple bonsai beautiful as the leaves that come out after defoliation are young and strong.
To know more about how to make Japanese maple bonsai redder, please read the following post.
Before defoliating
Defoliation puts a lot of stress on the seedlings. So, it is necessary to fertilize well the seedlings in advance in the previous year or early spring. If you defoliate weakened seedlings, new buds may not sprout or branches may wither. In the worst-case scenario, the entire seedlings may die off.
How to defoliate the seedlings
Defoliating
Normally, all part of the leaf blade is cut, leaving only the petioles. If you have shoots that you want to grow, leave them as they are. It is safer to cut off only half of the leaf blade and leave the other half if the branches are weak.
Defoliation should be done before the summer, from June to July, when all the leaves have fully opened and become thick enough. Not too early nor too late. Check the weather forecast and pick a date when sunny days last for about a week after defoliation because the seedlings need a lot of sunlight after. Defoliation is usually done once during a season. If the seedlings are healthy, it can be done 2-3 times.
After defoliation, seedlings must immediately be placed on a shelf outdoors and exposed to sufficient sunlight. Do not let the water run out, but be careful not to overwater them as well, as seedlings without leaves do not need as much water. It is better not to expose them to rain until new shoots appear.