Collecting pine trees from the wild
What is Yamadori
There is a specific term in the bonsai world to indicate collecting bonsai trees from the wild: Yamadori. Yamadori literally means collecting/hunting trees from the mountains.
Because they grew in the wild, Yamadori bonsai trees are highly prized for their true reflection of nature’s beauty. Many of the renowned coniferous bonsai trees are in fact Yamadori trees which have more natural, wild appearances compared to trees grown from seeds.
Legal/ethical considerations for collecting wild trees
When collecting trees from the wild for bonsai making, it is important to consider the legal and ethical implications of your actions.
Legal considerations
First of all, you have to respect the laws and regulations governing the collection of trees on public and private land.
It is possible to collect native plants from public lands but in some cases, appropriate permits may be required. Regulations vary with the type of plant material being collected and its intended use. Permits to collect plants or plant material can be obtained at USDA Forest Service or other agencies.
Collecting trees from private land is another matter. You may or may not be able to harvest them depending on the owner of the land. Contact them beforehand and have written permission.
In any event, make sure to familiarize yourself with the relevant laws and regulations, and obtain any necessary approvals before collecting a tree.
Ethical considerations
Another important thing to consider is its ethical implication. You have to minimize environmental damage and protect the natural environment. Before digging, carefully examine the geological features and how the roots spread, and only collect trees that you are sure will be able to take them out cleanly.
Here are some other tips on the ethical aspect of collecting wild trees.
- Be selective.
- Avoid damaging other plants.
- Only take one tree at a time.
- Refill the hole after digging.
How to safely collect and transplant wild pine trees
When to collect
The best time to collect wild pine trees for bonsai making is early spring to mid-spring when they begin to actively grow again. If collected and transplanted at this time, the trees take root faster with the temperature rise.
Older trees are more susceptible to environmental change while younger trees are relatively resilient. Check the weather forecast before collecting and make sure there isn’t a sudden temperature drop after collecting and transplanting.
Identifying suitable pine trees for bonsai
When collecting pine trees for bonsai, it is important to choose ones that have the potential to be shaped and trained into beautiful, graceful, miniature versions of their full-sized pine trees in nature.
Pine trees usually grow in mountainous regions and those good for bonsai making such as Jack pines prefer sandy, rocky soil. Some characteristics to look for in a suitable pine tree for bonsai when harvesting from the wild include:
- Antiquated, rusty look,
- Thick, rough and scaly bark,
- Interesting trunk curvature,
- Adequate size (small enough to place in bonsai pot),
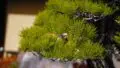
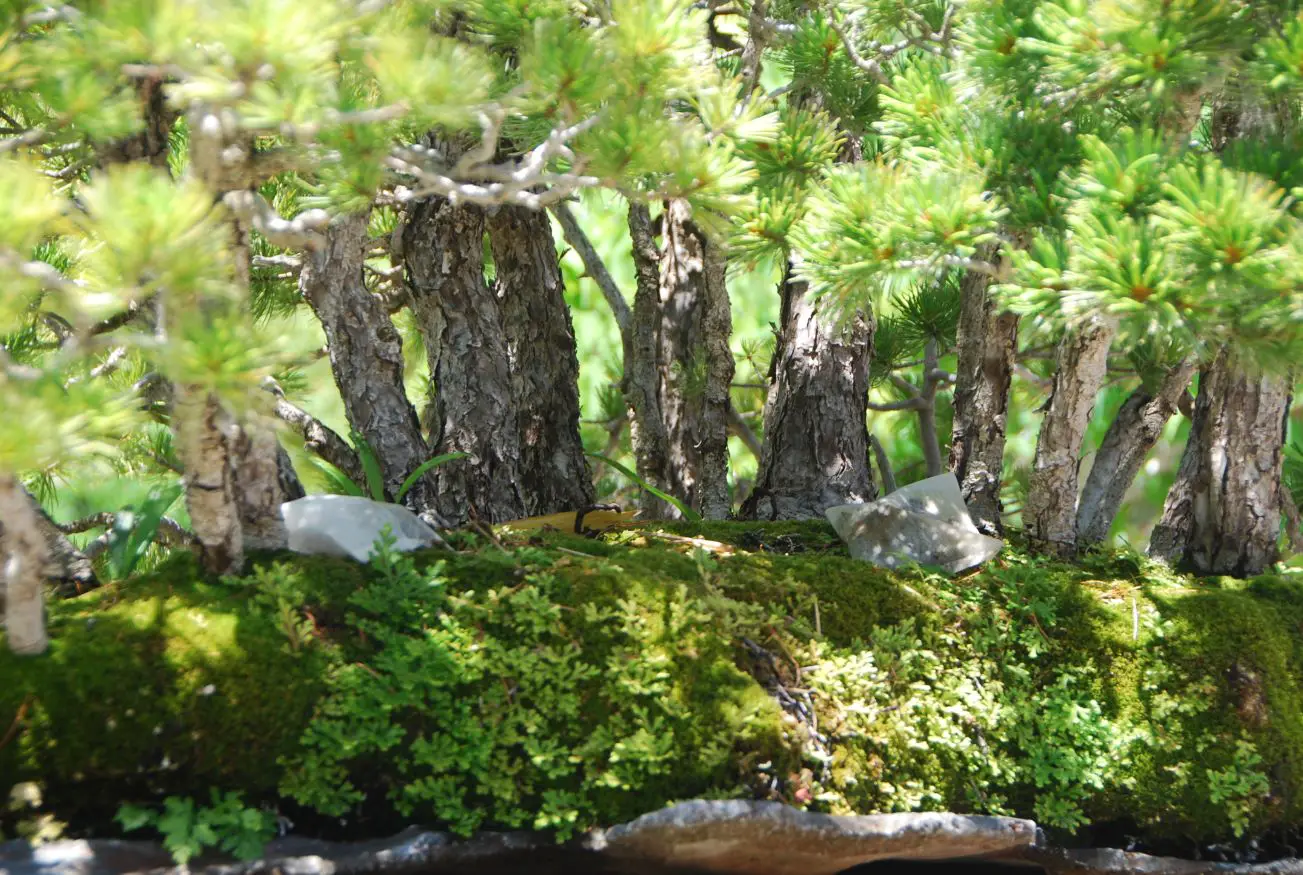
- Beautiful needle color (green and shiny);
- Vigorous, well-ramified lower branches;
- No noticeable scars or damages; and,
- Healthy and without visible infestation.
Another important thing to consider is whether the tree can be dug out without much difficulty. Check the surrounding terrain. If it is rocky, it may be hard to dig by human hand. If the tree grows on unstable ground or cliff, it may be dangerous.
Tools you need
To collect a tree
Here are tools and materials for collecting a wild tree for bonsai making.
- Hand saw
- Pruning shears
- Shovel (big and heavy enough to dig up trees from the ground and loosed the soil)
- Root hook or rake
- Rope/string
- Sack/container
- Wrap (plastic or newspaper)
- Bottle of water
To transplant a collected tree
Here are tools and materials for transplanting a wild tree for bonsai making.
- New bonsai soil mix (Akadama: 50%, volcanic sand: 50%)
- Pumice
- Pot bottom net
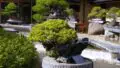
- Clay/terracotta pot (deeper than usual bonsai pot)
- Bonsai scissors
- chopstick
- String/wire (optional)
Step-by-step guide for collecting and transplanting
Tips for successful Yamadori
- Take care not to damage the root system as much as possible. Make sure to leave as many fine roots as possible. Old, thick roots do not absorb water and nutrients much.
- Do not let the roots dry. Dig the tree out with the soil attached to the roots. Give moisture to roots before taking the tree home.
- Transplant the tree as soon as you get home. It helps to reduce stress on the tree and increase the chances of survival.
- Quarantine the collected tree if possible. It helps to prevent any pests or diseases that the tree may be carrying from spreading to other bonsai trees.
How to collect


- Before starting, remove any obstacles such as fallen leaves, grass and rocks around the tree. If the tree has any dead branches or needles, prune them away.
- Begin by using a shovel to loosen the soil around the base of the tree. Start from the base of the trunk and work your way outward in a circular motion until the top of the root system is exposed. If the soil is sandy, start away from the trunk and work your way inward to avoid cutting roots shorter than necessary. Pine roots in sandy soil tend to grow shallow and horizontally to the ground, not vertically.
- Start digging away from the trunk and make a ditch around the tree. This is to pull out the tree with soil attached to the roots, especially smaller, fine ones. The diameter and the depth of the ditch are 5 times the size of the trunk. If the diameter of the trunk is 4 inches (10cm), the size of the ditch is 20 inches (50cm) in diameter. The diameter of the root system to dig is 3 times the size of the trunk.
- Use the root hook or rake to gently lift the tree out of the ground. Try not to tear roots by force. Use sharp shears or a hand saw to cut roots that go deep in the ground. Be sure to lift the tree with soil. If the soil is sandy, wrap the root system with rope before pulling the tree out of the ground.
- Once the tree is free from the ground, wrap the roots with a newspaper/plastic bag so that the soil does not come off from the root system while transporting.
- Place the tree in a sack or container and make sure to keep the roots moist and protected.
How to transplant

- Place a bottom net in the drainage holes. Put pumice in the bottom for drainage. Put half of the soil mix on top of it.
- Put the collected tree in a clay/terracotta pot with the soil around the roots attached. If the roots are deeper/wider than the pot, prune them with sharp shears. The soil mix should have good drainage.
- Fill the surrounding of the tree with soil mix. Poke in the soil with a chopstick so that the pot is filled with the soil mix without air gaps.
- If the tree has a large above-ground portion, wire the tree with the pot at the base for stability.
Place the tree in half shade without strong wind. Water in abundance after potting but keep the soil slightly dry until it takes root. The tree cannot absorb water before it takes root, which will happen in a month or two.
Make sure not to fertilize or touch the tree before it takes root. Repot every 2 to 3 years to encourage fine roots to grow.