What is mini bonsai
Bonsai size classification
Bonsai size classification
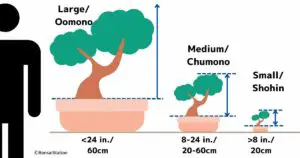
Bonsai can be classified into several categories depending on their size. Despite the common belief, though, there is no agreement on the names to the exact sizes of bonsai. That said, the concept of its range is well-established, which are large (“Oomono”), medium (“Chumono”) and small (“Komono” or “Shohin”).
- Large-sized bonsai: 24 inches (60cm) or more.
- Medium-sized bonsai: between 8-24 inches (20-60cm)
- Small-sized or shohin bonsai: below 8 inches (20cm)
※Sizes are rough numbers.
By the size classification, the smallest bonsai is miniature bonsai (mini bonsai) with a size roughly below 8 inches (20cm) tall.
Mini bonsai classification
Mini bonsai size classification
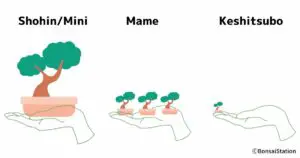
Among small-sized or miniature bonsai, there are “Mame” bonsai and “Keshitsubo” bonsai. Keshitsubo bonsai is also called super-mini bonsai.
- Mini bonsai is one that fits in the palm of your hand.
- Mame bonsai is one that a palm can hold 3 pots.
- Keshitsubo bonsai is finger-tip size.
Small-sized bonsai trees are also called:
- Shochu bonsai (meaning “in the palm”)
- Shojo bonsai (meaning “on the palm”)
- Katate bonsai (meaning “single hand”)
- Mini cha bonsai (meaning “mini tea”)
- Pocket bonsai
“Mame” bonsai history
Mame bonsai & scroll
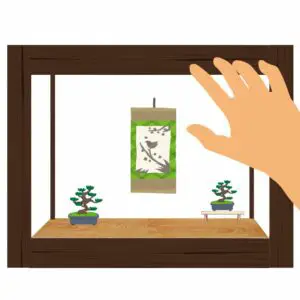
It is said that the Mame bonsai started about a few hundred years ago during Tokugawa shogunate. At that time, major feudal lords (samurai) are required to alternate living between their dominion and the capital every year.
Mame bonsai trees, along with small hanging scrolls, are decorated in the carriage as comfort for the lords along the long way to and back from the capital.
“Mame” means bean in Japanese and is used as a metaphor for very small things. Mame bonsai thus is very tiny bonsai, even as a bonsai tree.
Are mini bonsai trees hard to grow?
Mini bonsai trees are easier to grow than normal bonsai trees, which need a certain technique and a long period of time to be styled in a perfect shape. Mini bonsai trees are ready to be potted, displayed and admired after three years of their propagation.
With that said, watering might be the biggest challenge for growing mini bonsai trees as their pots are tiny and the soil can easily be dried up, especially in the hot season. In fact, one of the most common causes of mini bonsai dying is watering.
For more about this topic, please read the following post.
Essential tools to start mini bonsai
Essential mini bonsai tools
A list of essential tools to start mini bonsai is:
- Pruning shears
- Tweezers
- Wooden chopstick
- Soil scoops
- Soil sieve
- Pincers (long-nose pliers)
- Wire cutters
If you are thinking about growing more naturally, i.e. just pruning without wiring, wire cutters can wait.
Pruning shears
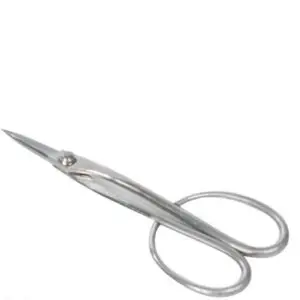
Pruning shears
There are different types of shears to control the growth of bonsai trees, including pruning shears. It comes in a variety of lengths and shapes for pruning from twigs to thick branches.
Shears with short blades with long handles as in the picture above are useful for pruning branches, picking buds, and cutting leaves of mini bonsai trees. Longer blade shears are used for pruning big branches of large bonsai trees.
These pruning shears are made from various materials but those from stainless steel are good for beginners as it is hard to rust, saving a lot of maintenance.
Tweezers
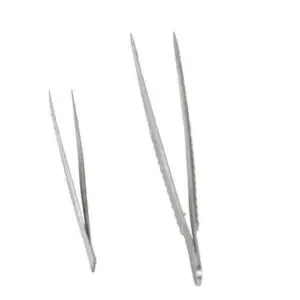
Tweezers
Tweezers are used for various purposes such as removing unwanted sprouts/weeds and loosening the roots removed from the pot or removing old soil from the roots when repotting. They can also be used for pest control.
There is a bonsai rake dedicated to loosening roots, but for mini bonsai, tweezers or chopsticks are sufficient. You might think of using a hand for this purpose but tweezers can do more delicate work, especially when treating damaged roots.
Wooden chopsticks
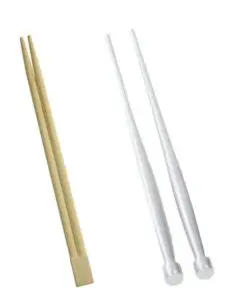
Chopsticks
Chopsticks are useful for filling soil after repotting as well as loosening roots. They do not need to be special ones for bonsai. You just have to wash and save the chopsticks after you ordered Chinese or Japanese food in.
Soil scoops
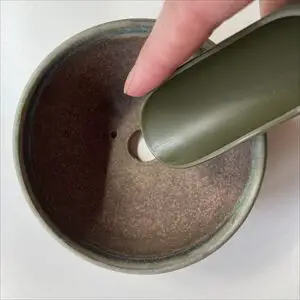
Soil scoop
Soil scoops are used when putting soil in a bonsai pot. As mini bonsai pots are very small, putting soil by hand can be stressful. There are metal and plastic products but plastic ones are much more affordable and sufficient for usage.
Soil sieves
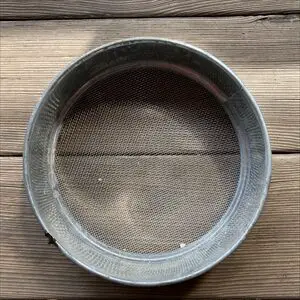
Soil sieve
Soil sieves are used to make the size of the soil particles uniform and to remove fine silts. Choose the one with 3 to 5 different meshes for medium, small, and fine grain.
For the reason why to make the soil particles uniform, please read the following post.
Pincers (long-nose pliers)
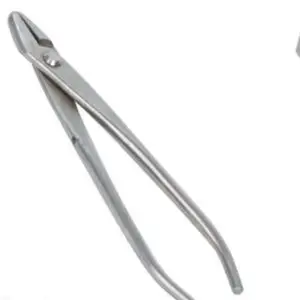
Pincers
Pincers are used to grab and twist wires and can be replaced by long-nose pliers. They are especially useful when fixing trees to a pot using wire, fixing pot bottom nets, as well as removing wires. For mini bonsai use, choose one with narrow tips that fit between branches.
Wire cutters
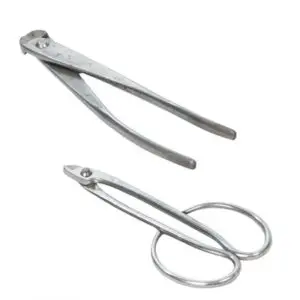
Wire cutters
Training a bonsai tree typically involves using wires to position the branches and trunk as you like. Dedicated bonsai wire cutters have a short distance between the hinge and the tip of the blades to be able to apply more force to the wire with less effort.
Wire cutters have to be used especially when the wires are tightly wound around the branches. Forcibly removing them with hands can damage or even break off the branches.
Better tools to have
Concave cutter
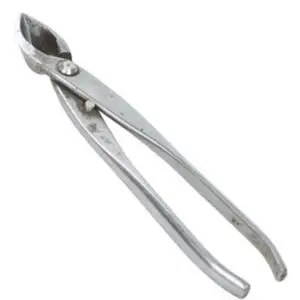
Concave cutters
Concave cutters are used to pull out knobs and bumps that are left when pruning branches. They are very useful but not essential to start mini bonsai as branches are fairly thin and sharp pruning shears can be used as an alternative for the time being.
Best mini bonsai trees for beginners
The best mini bonsai trees for beginners are-
- Juniper
- Japanese maple
- Chinese elm and
- Cotoneaster.
All of these species are very strong and easy to grow as well as affordable.
Juniper
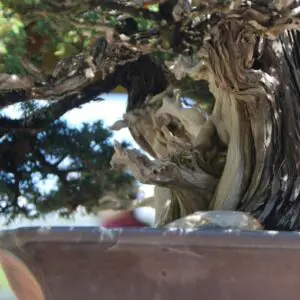
Juniper bonsai
Juniper bonsai at a glance
| Common name | Juniper |
| Latin name | Juniperus rigida |
| Native area | China, Korea, Japan (US) |
| Cold tolerance | High |
| Heat tolerance | High |
| Drought tolerance | High |
| Sun exposure | High |
| Soil mix | Akadama: 50% Sand: 50% |
| Repotting | Every 3-4 years |
| Fertilization | Once each in Apr, May, Aug, Sept, Oct |
| Watering | Once/day in spring and fall 2 times/day in summer Once every 2-3 days in winter |
| Life span | Well over 100 years |
What makes juniper trees good as the first mini bonsai?
- Very strong and easy to grow (grows naturally in the wasteland).
- Unique appearance (barkless, skeletonized look).
- Distinctive strength and presence as bonsai.
Japanese maple
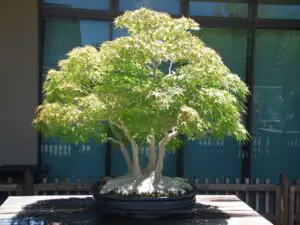
Japanese maple bonsai
Japanese maple bonsai at a glance
| Common name | Japanese maple |
| Latin name | Acer palmatum |
| Native area | Nepal, China, Taiwan |
| Cold tolerance | High (14°F/-10°C) |
| Heat tolerance | High (100°F/37°C) |
| Drought tolerance | Fairly low |
| Sun exposure | High to partial shade |
| Soil mix | Akadama: 80% Sand: 10% Organic compost: 10% |
| Repotting | Every 2 years |
| Fertilization | Once each in Apr, May, Sept, Oct |
| Watering | Twice/day in spring and fall 3 times/day in summer Once every 2 days in winter |
| Life span | Well over 100 years |
What makes Japanese maple trees good as the first mini bonsai?
- Easy to grow.
- Very strong and can withstand hard pruning and defoliation.
- High tolerance for cold and heat.
- Have beautiful summer leaves turning color in fall.
- Multiple cultivars to choose from.
Chinese eml
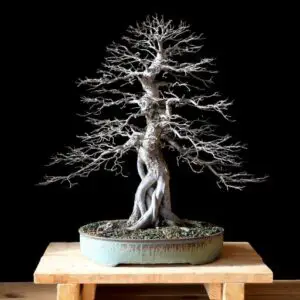
Chinese elm bonsai
Chinese elm bonsai at a glance
| Common name | Chinese elm |
| Latin name | Ulmus parvifolia |
| Native area | Nepal, China, Taiwan |
| Cold tolerance | High |
| Heat tolerance | High |
| Drought tolerance | High |
| Sun exposure | High to partial shade |
| Soil mix | Akadama: 80% Sand: 10% Organic compost: 10% |
| Repotting | Every 2 years |
| Fertilization | Once each in Apr, May, Jul, Aug, Sept, Oct |
| Watering | Once/day in early spring Twice/day in spring and fall 3 times/day in summer Once every 2-3 days in winter |
| Life span | Well over 100 years |
What makes Chinese elm trees good as the first mini bonsai?
- Tough and durable.
- Easy styling: formal upright is the standard style.
- Good ramification with fine branches.
- Beautiful autumn leaves.
- Smooth and beautiful trunk to enjoy even without leaves in winter.
Cotoneaster
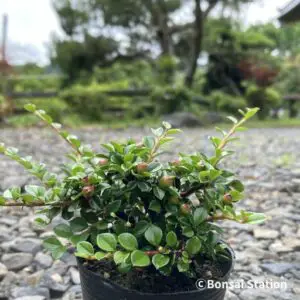
Cotoneaster bonsai in a training pot
Cotoneaster bonsai at a glance
| Common name | Rockspray cotoneaster |
| Latin name | Cotoneaster horizontalis |
| Native area | Asia, Europe, North Africa |
| Cold tolerance | High |
| Heat tolerance | Moderate |
| Drought tolerance | High |
| Sun exposure | High to partial shade |
| Soil mix | Akadama: 70% Sand: 20% Organic compost: 10% |
| Repotting | Every 1-2 years |
| Fertilization | Twice each in Apr, May, Sept, Oct |
| Watering | Once/day in spring and fall 2 times/day in summer Once every 2 days in winter |
| Life span | Over 50 years |
What makes Cotoneaster trees good as the first mini bonsai?
- Easy to grow, hard to die off.
- Very strong and can respond well to hard pruning and wiring.
- Can propagate easily from cuttings.
- Bears red fruits in fall.
- Very affordable.
When to start mini bonsai
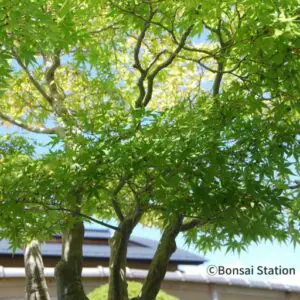
Choosing the right time to start mini bonsai is very important because it reduces the chance of the tree withering.
You should start growing a mini bonsai tree in early spring when the tree starts to grow. The temperatures get warmer and the days grow longer during this time, increasing the amount of daylight thus energy for the tree. Even if you mishandled it as a beginner, there is plenty of time for the tree to recover.
Also, the repotting does the least damage to the tree at this time of the year. Repotting after you get a tree is necessary to check the roots and soil so that you can grow the tree soundly.
To know more about why you should start bonsai in early spring, please read the following post.
How to grow a mini bonsai tree
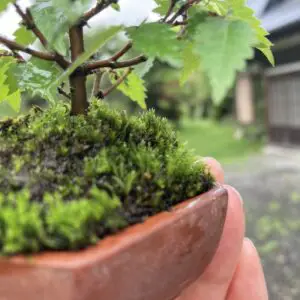
Caring for mini bonsai trees seems to be difficult but there are only six things you should consider:
- placing
- watering
- fertilizing
- repotting
- controlling pests and insects, and
- caring in extreme weather.
Placing
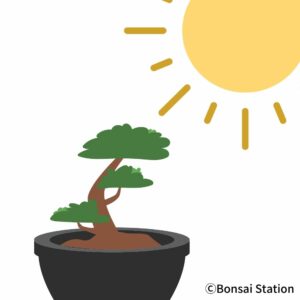
Except for indoor bonsai species like ficus, most of the bonsai species are to be kept outside. More specifically, mini bonsai trees should be kept in the place;
- with plenty of direct sunlight
- with fresh air and enough airflow
- where they could be cared for easily, and
- away from railroads and big roads.
For more detailed information about where to place mini bonsai trees, please read the following post.
“Should mini bonsai trees be kept outside?” (Link here)
Watering
The general rule of watering a mini bonsai is;
- Once a day in spring and fall,
- Twice a day in summer, and,
- Once every two to three days in winter.
This general rule should be altered depending on the factors such as frequency of the rain in your region, climate, amount of sunlight, age of the tree, and species of the tree.
Watering is one of the most common causes of bonsai withering. For more detail about watering, please read the following post.
Fertilizing
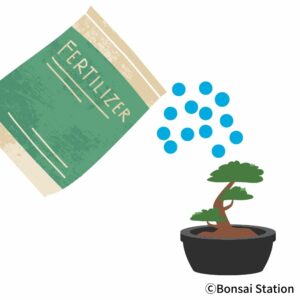
When to fertilize your mini bonsai trees depends on the species as well as the stage of the tree growth. In general, the best seasons for fertilizing are spring and fall when the mini bonsai trees are growing vigorously.
For more information about fertilizing mini bonsai trees, please read the following post.
Repotting
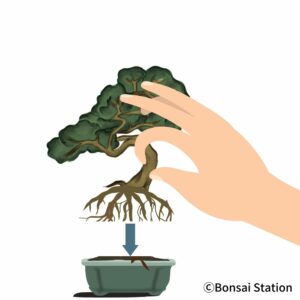
In general, the best seasons for repotting are early spring and maybe fall.
- Deciduous trees: early spring before new sprouts/ late fall
- Flower/fruit trees: early spring before new sprouts
- Coniferous trees: early spring before new sprouts/ early fall
The frequency of repotting should be every 1-2 years for deciduous/flower/fruit trees and every 3-4 years for coniferous trees.
For more details on how to repot, please refer to the following post.
Controlling pests and insects
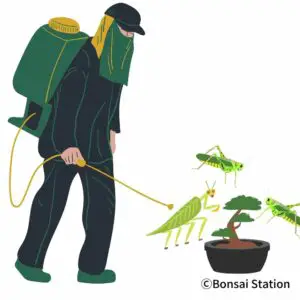
To prevent mini bonsai trees from pests and insects, you should;
- keep the tree healthy
- prune the tree at the right time
- protect existing trees when you buy a new one, and
- use insecticide/ pesticide regularly.
For more information about preventing pests and insects, please read the following post.
Caring in extreme weather
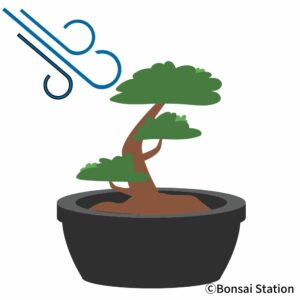
Depending on where you live, special care in the cold and hot seasons is necessary.
Apart from placing the trees in the greenhouse, the following could be done to prevent them from dying in the winter.
- Put the mini bonsai pots in a box
- Bury the mini bonsai pots in the ground
- Prevent cold and dry wind, and
- Prevent frost using plant cover.
In the hot season, preventing water shortage and strong sunlight is very important as mini bonsai pots can hold a little amount of soil and the soil can dry up quickly. To prevent this, you can use a box filled with river sand and bury the bottom of the pots in it.
To know more about how to care for your mini bonsai trees in extreme weather, please read the following post.

