Pruning and Pinching Juniper Bonsai: the difference
To maintain the health, beauty, and desired shape of your juniper bonsai, two essential techniques come into play: pruning and pinching. Pruning and pinching are both techniques used in bonsai care but they differ in their approach and purpose.
Bonsai pruning is the process of selectively removing branches, trunks or roots to control growth, create a desired shape, and promote overall health.
Pinching (tipping), on the other hand, is a pruning technique to encourage ramification and shorten internodes so that bonsai trees can have the appearance of fully-grown trees.
Growth Patterns of Juniper Bonsai
To effectively care for and shape your juniper bonsai, it’s crucial to have a solid understanding of their growth patterns.
Growth habit

Needle-like needles (juniper)

Scale-like needles (juniper)
Junipers can be classified based on the type and arrangement of their needles: needle-like needles and scale-like needles.
Some junipers, such as Shimpaku juniper (Juniperus chinensis var. sargentii) and needle juniper (Juniperus rigida), maintain their foliage pattern throughout their lifespan while others, including common juniper (Juniperus communis) and Rocky Mountain juniper (Juniperus scopulorum), exhibit a growth pattern with distinct juvenile foliage of needle-like leaves that transition to adult scale-like foliage.
Needle-like leaves in junipers are commonly longer, ranging from 0.4 to 0.6 inches (5-15 mm) in length, while scale-like leaves are much smaller, measuring around 0.08 to 0.16 inches (2-4 mm) in length. In junipers that undergo a foliage transition, the leaves become shorter as the leaves mature.
Juvenile foliage is soft, flexible, and typically yellow to bright green in color. Adult foliage, on the other hand, tends to be denser and darker in color.
Growth Areas
Juniper bonsai have different growth areas, which require varying levels of attention and maintenance.
Apical Growth
Terminal buds
For many plants, including bonsai trees, only one growing point exists; the tip of the stems or “terminal bud”. This growth point is where cell division and branch elongation occur. For juniper bonsai, once leaves age, older ones without the growth point do not regrow. They turn brown and eventually drop off from the tree.
Appearance

Shimpaku juniper needle (Growth points at the tips of each needle look yellow-green while older needles are dark green.)
The growth point of juniper bonsai appears as a small, pointed or rounded bud located at the tip of the main stem or branch. It is typically lighter in color and often covered by a cluster of scales that protect the delicate growing tissue within.
Emergence in the Growing Season

Juniper needle (growth point elongates)
In the growing season, the tips of juniper needles begin to show signs of growth. The bud scales may start to separate, revealing the developing foliage and stem tissue inside. As the tree actively grows, the growth point becomes more visible and elongates, leading to the extension of the branch.
For the Shimpaku juniper, only one growth point elongates among the clusters of growth points at the needle tips. If it is left to grow, other terminal buds stop growing, resulting in scarce foliage.
Interior Growth

Juniper needle (exterior): Lots of growing points at the tips

Juniper needles (interior): Almost no growing points and some needles are yellow/brown.
When the interior of the juniper bonsai experiences reduced light and airflow, it results in weaker growth. Growth points stop being generated at the tips of needles, which become yellow/brown.
This is why pinching is necessary.
It allows light to reach deeper into the canopy, helps improve ventilation, promotes back-budding, and maintains overall foliage density. Removing excess foliage also prevents pests and diseases and ensures healthier growth throughout the tree.
Back-Budding
Juniper bonsai, including species like Shimpaku juniper, needle juniper, common juniper, and Rocky Mountain juniper, have a greater ability to produce new growth from dormant buds compared to other coniferous trees.
This process is known as back-budding and plays a significant role in shaping and refining the juniper bonsai’s structure. Juniper trees possess dormant buds along the branches and trunk that can be stimulated to grow under the right conditions, like pinching
Growth Rate and Response
Juniper species, such as Shimpaku juniper, needle juniper, common juniper, and Rocky Mountain juniper, have slow growth rates but respond well to pinching and pruning for shaping and controlling growth.
Rocky Mountain juniper, for example, only grows about 4 inches (10cm) per year even in nature (according to USDA).
How to prune and pinch juniper bonsai
Pads and juniper bonsai
Before diving into how to prune and pinch juniper bonsai, it is crucial to understand what the “pad” is in bonsai styling.
What are “pads”?

Bonsai pads (in red circle)
Pads” are a cluster of foliage growing from one branch that creates distinct layers within the tree’s overall structure. Each pad/branch is divided into separate blocks but it should create a sense of balance and harmony as a whole tree.

Bonsai pads (fan-like shape)

Bonsai pads (look like a hill)
Pads have a fan-like shape with branches branching out horizontally. Looking from the side, a pad looks like a small hill; a rounded, sloping shape, resembling a smooth dome rising gradually from the edge with a flat bottom.
Why are pads important for bonsai styling?
Creating pads can make more visually appealing and artistically satisfying compositions for your bonsai trees. It can also display depth and dimension as well as evoke a sense of harmony and balance, elevating the overall quality of your tree as an art form.
These pads give the tree a more refined look, which may or may not resemble the growth patterns seen in mature juniper trees in nature, but definitely make it visually interesting.
There is a practical reason for making pads for your bonsai instead of having one big foliage. It allows sunlight to reach into the canopy and helps improve ventilation, which promotes back-budding and prevents pests and diseases.
Pruning juniper bonsai
Pruning is a fundamental technique in bonsai cultivation it plays a crucial role in shaping your tree’s form and enhancing its overall aesthetic.
Tools you need
Wazakura Ashinaga Bonsai Scissors
(Link to Amazon)
Use bonsai pruning shears or scissors specifically designed for bonsai pruning. They have a long shank (the body of the scissors between the ring handles and the hinge) which enables you to easily reach deep within the foliage to the branch you want to cut without damaging others.
Ordinary bypass pruning scissors are not for fine pruning and have a risk of tearing the branch you are trying to prune.
When to prune juniper bonsai
Structural pruning should be done in early spring (February to March) or late fall (November to December) when the tree sap is flowing slowly. Light pruning can be done at any time of the year and thinning should be done throughout the growing season (until mid-fall).
For the matured and fully-styled trees, structural pruning should be done every 2 to 3 years. After a couple of years of pinching that stimulates ramification, pads may become a giant ball without a distinctive shape.
A step-by-step guide to pruning juniper bonsai
Here’s a step-by-step guide on how to prune juniper bonsai effectively.
Step 1: Evaluate the Tree
Begin by carefully assessing your juniper bonsai’s structure and growth. Identify any unwanted branches, excessive foliage, or areas that need refinement. Juniper bonsai can be made into a variety of styles but you need to create distinctive “pads” on your tree which are in balance as a whole tree.

Unwanted branches
Generally speaking, you don’t want crossing branches (those that cross over other branches/trunk), downward or upward branches, straight branches and weak or diseased branches.
Step 2: Remove Unwanted Branches
Using sharp and clean bonsai pruning scissors, remove any branches that disrupt the desired silhouette or interfere with the tree’s overall balance. Make clean cuts at the base of the branch, ensuring the cut is flush with the trunk or the main branch to promote proper healing.
This step is to make the overall shape of the tree by getting rid of unnecessary branches.
Step 3: Thin Out Dense Foliage

Thinning (before)

Thinning (after)
Juniper bonsai often develop dense foliage, which can obstruct the tree’s structure and limit airflow. Carefully thin out the foliage pads, removing excess growth and allowing light to reach inner branches.
The key to pad making is to look at the branch from the side and remove the branches and leaves that are growing downward or upward. Cut also the branches that grew too long. Remember that pads should have a fan-like shape and look like a small hill.

Thinning (before)

Thinning (after)
Next, look at each branch one by one and remove excess leaves so that the tip of the branch is bifurcated. Pinch off the leaves growing near the base of the branches so that you can clearly see each branch.
Remove long, loose leaves and unbranched leaves, which are often found at the base of branches, as they will not become branches in the future.
After doing this throughout the tree, you’ll be able to see each branch through the leaves, giving you a pretty neat shape. Thinning juniper bonsai may take several hours if you have a big tree.
Pinching Juniper Bonsai
Pinching is a precise and effective technique used to control growth, refine foliage, and shape juniper bonsai. In this section, I will show you the timing and techniques of pinching juniper bonsai.
Tools you need
You may use tweezer or bonsai scissors but your hand is just enough for pinching.
When to pinch juniper bonsai
Pinching should be done throughout the growing season, from April to September. Depending on the age, vigor and other factors but you may need to pinch your tree every couple of weeks.
A step-by-step guide to pinching juniper bonsai
Here’s a step-by-step guide on how to pinch juniper bonsai.
Step 1: Assess the Growth

Pinching juniper (assess the growth)
Examine your tree to identify areas where pinching is required. Look for vigorous shoots with excessive growth that need to be controlled or shaped. They are typically lighter in color and often covered by a cluster of scales.
Step 2: Pinch
Using your fingers or tweezers, gently pinch off the terminal portion of the new shoot that elongated. You want to make a rounded shape for a pad so anything sticking out of the shape should be pinched.
Make sure not to pinch out all the growing points from the leaves. Once they are gone, the needles stop growing and eventually fall off.
Step 3: Thin Out Dense Foliage
When done correctly, pinching encourages ramification and foliage becomes too dense.
Thinning (after)
Carefully thin out the foliage pads, removing excess growth and allowing light to reach inner branches as you do when you are pruning. Remove also excess leaves so that the tip of the branch is bifurcated.
Step 4: Repeat as Needed
Regularly monitor your tree’s growth and repeat the pinching process as necessary. Depending on the vigor of the tree, this may be required every couple of weeks. If shoots are left to grow, other terminal buds that should make new branches stop growing, resulting in scarce foliage.
Showcasing the Beauty: Before and After Example
One of the most captivating aspects of working with juniper bonsai is witnessing the transformative power of pruning and pinching techniques. Through skillful manipulation, a juniper bonsai can be shaped and refined, resulting in breathtaking transformations.
Here is a before-and-after example I did the other day with Shimpaku juniper bonsai that highlights the remarkable beauty that you can achieve with careful pruning and pinching.
Before

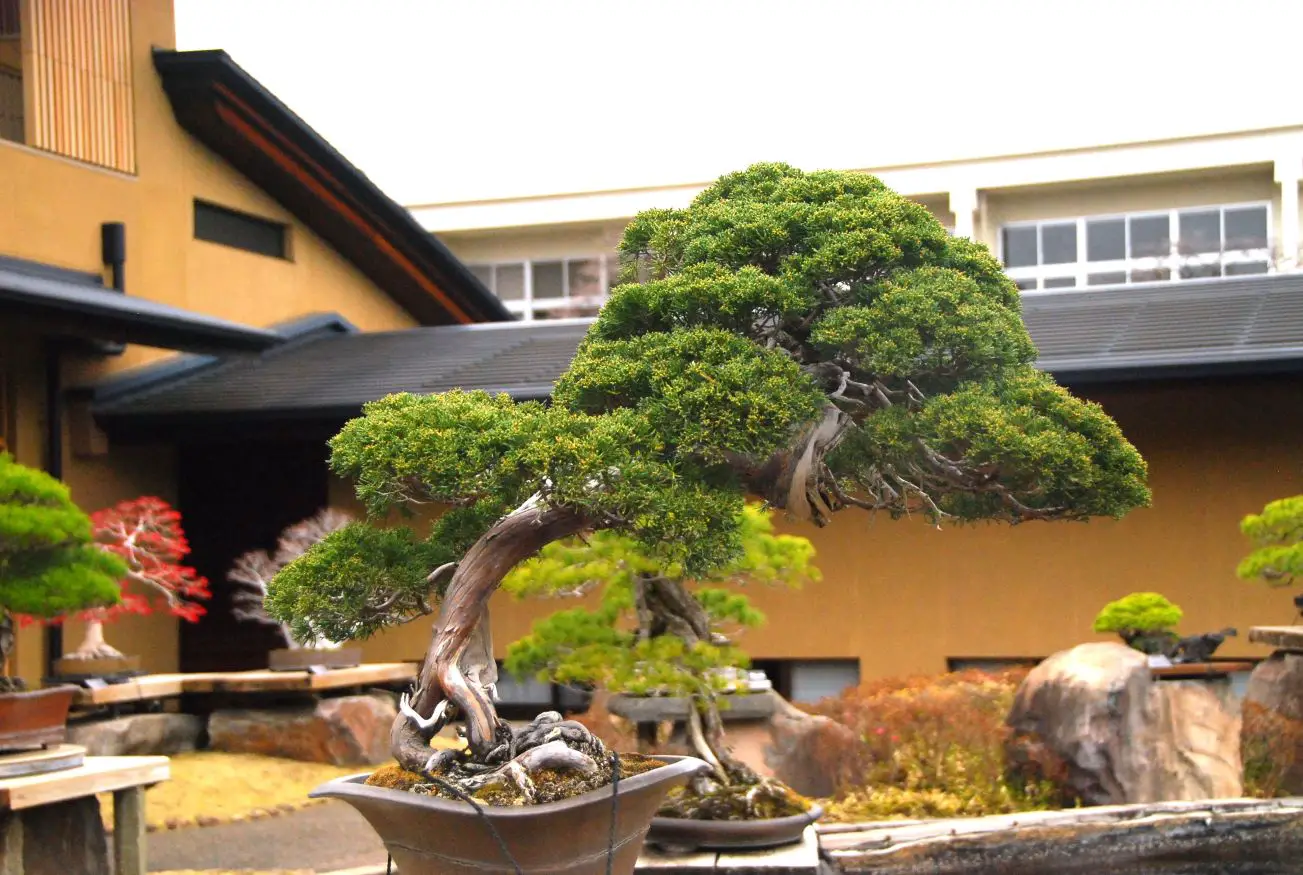
Juniper after pruning and pinching
In the “before” photo, you see a juniper bonsai in its initial stage, with unruly growth and unrefined branches. Some of the growing points are left untouched and foliage does not have a distinctive shape.
After diligent pruning and pinching (and wiring) for several hours, I think this tree has undergone a stunning transformation. The branches have been selectively pruned to enhance movement and taper, while the pinching created distinctive foliage pads.
The result is, I think, a refined and harmonious composition that captures the essence of a mature and majestic juniper tree.